
iPad Air 2 Home Button Replacement: DIY Guide
The iPad Air 2 is a reliable device, but like any gadget, its components can wear out over time. One common issue users face is a malfunctioning home button. Whether it’s unresponsive, stuck, or broken, a faulty home button can disrupt your workflow. Fortunately, with the right tools and careful steps, an iPad Air 2 home button replacement can be done at home. This guide will walk you through the process safely, offering tips, tools, and insights along the way.
Why Replace Your iPad Air 2 Home Button?
A failing home button affects daily tasks like unlocking your iPad, using Touch ID, or returning to the home screen. Here are the main reasons you might need an iPad Air 2 home button replacement:
Common Issues
- Unresponsive Button: Pressing the button yields no response.
- Sticking or Jammed Button: Button moves but doesn’t function smoothly.
- Touch ID Malfunction: Fingerprint sensor stops working.
- Physical Damage: Cracks or dents from accidental drops.
Replacing the home button can restore your iPad’s functionality and prevent further complications.
Tools You’ll Need
Before starting, gather the necessary tools to make the process smoother and safer:
- Pentalobe screwdriver
- Phillips screwdriver
- Plastic opening tools
- Suction cup
- Tweezers
- Replacement home button compatible with iPad Air 2
Tip: Always work on a clean, flat surface to avoid losing screws.
iPad Air 2 Home Button Replacement
Performing a replacement may seem intimidating, but following each step carefully ensures success.
Power Off Your iPad
Always start by turning off your iPad to avoid electrical damage or short-circuiting.
Remove the Display
- Use a suction cup to gently lift the screen.
- Insert a plastic opening tool between the screen and frame.
- Slowly work around the edges to loosen the clips without cracking the display.
Disconnect the Battery
Locate the battery connector and carefully detach it using a plastic tool. This prevents accidental current flow during the repair.
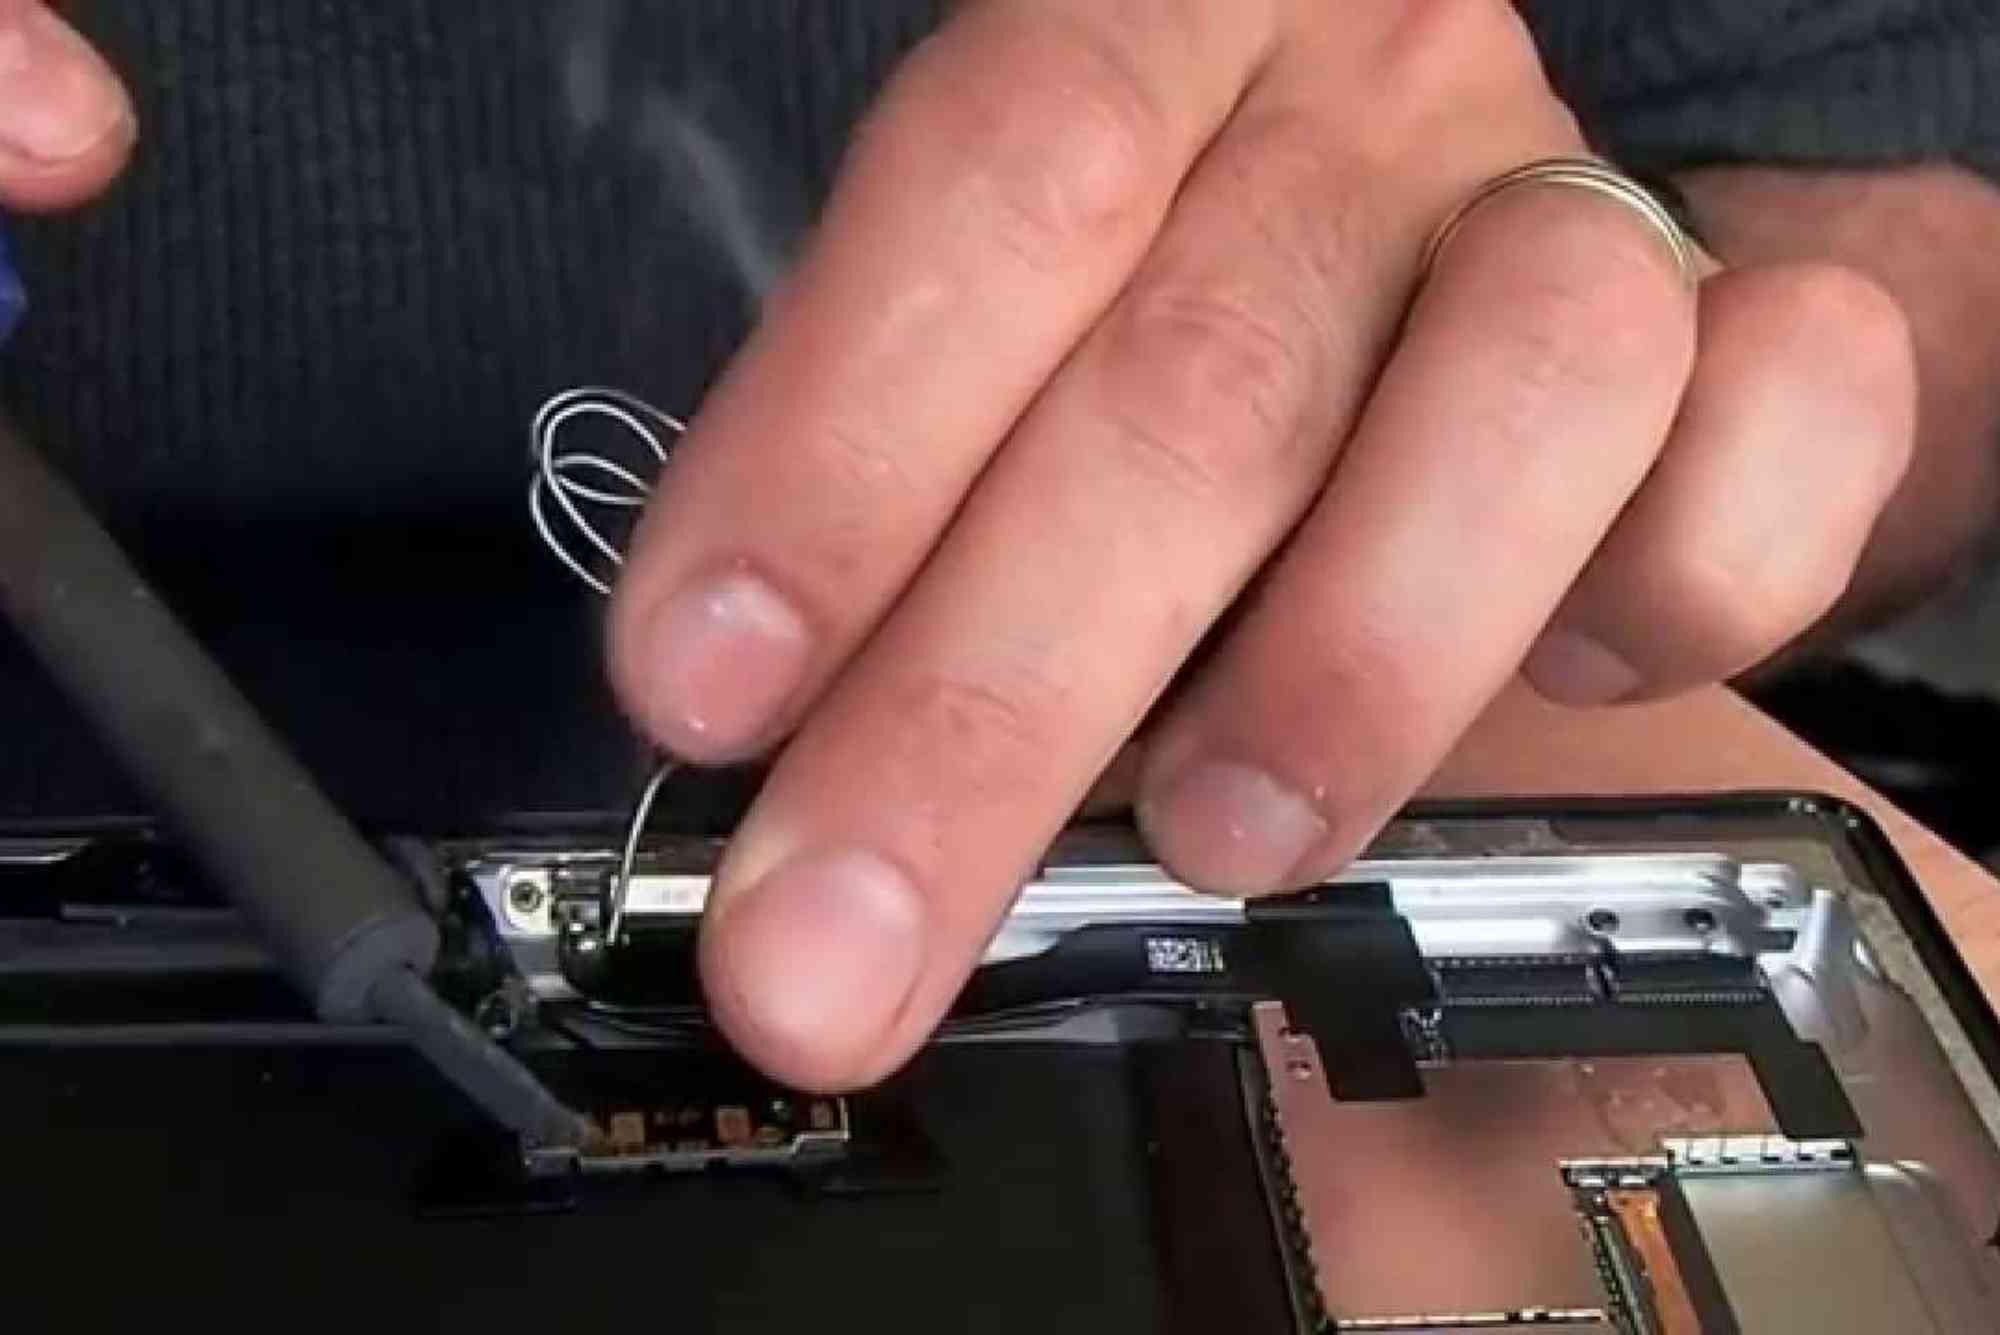
Detach the Home Button Assembly
- Remove screws securing the home button bracket.
- Carefully lift the ribbon cable with tweezers.
- Gently remove the old home button from its housing.
Install the New Home Button
- Align the replacement button in the correct position.
- Reconnect the ribbon cable carefully to avoid bending or breaking.
- Secure the home button bracket with screws.
Reassemble Your iPad
- Reconnect the battery.
- Place the display back and press gently along the edges until it clicks into place.
- Power on your device to test the new home button.
Tips for a Successful DIY Replacement
- Handle Ribbon Cables with Care: Ribbon cables are delicate and easily damaged.
- Use Minimal Force: Never force parts into place. Gentle pressure is key.
- Keep Track of Screws: Organize screws in a small container to avoid confusion.
- Test Before Full Assembly: Check the button’s functionality before sealing the screen.
Precautions to Avoid Damage
Replacing your iPad Air 2 home button can be risky if proper precautions are ignored:
- Avoid metal tools near the battery connector.
- Do not remove the display too quickly to prevent tearing cables.
- Make sure the new home button is compatible; iPad Air 2 buttons differ from other models.
Benefits of DIY vs. Professional Repair
DIY Repair
- Cost-Effective: Saves money on service fees.
- Convenient: No waiting at a repair shop.
- Learning Experience: Enhances technical skills.
Professional Repair
- Expert Handling: Reduced risk of damaging internal components.
- Warranty Coverage: Some repairs may come with a warranty.
- Time-Saving: Quick turnaround without learning curve.
Choose the approach that matches your confidence and budget.
FAQs
Can I replace the home button myself safely?
Yes, if you follow instructions carefully and use the right tools, DIY replacement is feasible.
Will replacing the home button affect Touch ID?
Yes. Touch ID is paired with the original button. After replacement, fingerprint recognition won’t work unless the original button is reused.
How long does the replacement process take?
A skilled user can complete it in 30–45 minutes. Beginners may take longer.
Do I need special software after replacement?
No. The replacement button functions mechanically, so no software installation is required.
Where can I buy a compatible home button?
Authorized Apple parts or trusted online stores offer compatible iPad Air 2 home buttons.
A broken home button shouldn’t slow you down. With careful steps, proper tools, and attention to detail, an iPad Air 2 home button replacement can be done safely at home. Whether you choose DIY or professional repair, restoring your device’s functionality ensures smoother usage and avoids unnecessary frustration.